In our digital age, our iPhones have become an extension of ourselves. From social media apps and productivity tools to games and lifestyle applications, our devices are brimming with apps that cater to nearly every aspect of our lives. But as we continue to install new apps, the old ones may no longer serve a purpose. Whether you’re looking to declutter your home screen, free up storage space, or simply clean up unused apps, knowing how to efficiently remove apps from your iPhone is essential. This guide will walk you through various methods to delete apps from your iPhone, ensuring you can manage your device with ease and precision.
Understanding Your iPhone’s App Management
Before diving into the steps of removing apps, it’s helpful to understand a few key points about app management on iOS devices:
Types of Apps on Your iPhone
- Built-in Apps: These are pre-installed by Apple and cannot be deleted (e.g., Phone, Messages, Safari).
- App Store Apps: Apps downloaded from the App Store, which can be easily removed.
- System Apps: Apps that come with the operating system but may have limited removal options.
Storage Considerations
Apps not only take up space on your device but may also have associated data that can impact your storage. Removing an app often clears its data, but it’s good to check if any residual files remain.
Methods to Remove Apps from Your iPhone
1. Deleting Apps Directly from the Home Screen
This is the most common method and is straightforward for most users.
Steps:
- Locate the App: Find the app you want to delete on your Home Screen.
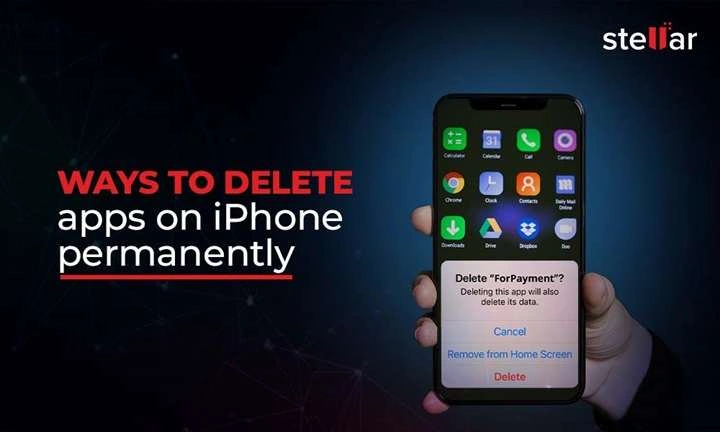
- Enter Jiggle Mode: Press and hold the app icon until it starts to jiggle. On iPhones running iOS 13 or later, you can also press and hold the app icon, then select “Remove App.”
- Tap the ‘X’ Button: An ‘X’ will appear on the corner of the app icon. Tap it.
- Confirm Deletion: A confirmation dialog will appear. Tap “Delete” to confirm.
Note: For iOS 14 and later, you might see an option to “Remove from Home Screen,” which will only remove the app from the Home Screen but keep it in the App Library.
2. Using the Settings App to Remove Apps
For a more methodical approach, especially when dealing with multiple apps, the Settings app offers an efficient way to delete apps.
Steps:
- Open Settings: Go to your iPhone’s Settings app.
- Navigate to General: Tap on “General.”
- Select iPhone Storage: This will show you a list of apps and how much storage each one consumes.
- Choose the App: Tap on the app you want to delete.
- Tap Delete App: Select “Delete App” and confirm.
Advantages: This method provides a clear view of the storage impact of each app, helping you prioritize which apps to remove based on their storage usage.
3. Removing Apps via the App Library
Introduced in iOS 14, the App Library is a feature that organizes all your apps into categories.
Steps:
- Go to App Library: Swipe left past your Home Screens to reach the App Library.
- Find the App: Use the search bar or browse the categories to find the app.
- Long Press on the App: Tap and hold the app icon.
- Select Delete App: Choose “Delete App” from the options that appear.
Note: This method is convenient if you’ve hidden apps from your Home Screen but still want to remove them.
4. Offloading Apps
If you want to keep the app data but remove the app itself, consider offloading.
Steps:
- Open Settings: Go to Settings > General > iPhone Storage.
- Select the App: Tap on the app you wish to offload.
- Choose Offload App: Tap “Offload App,” and confirm.
What It Does: Offloading removes the app but retains its documents and data. When you reinstall the app, your data will be restored.
5. Deleting Apps via iTunes (For Older Versions)
For users with older iTunes versions, deleting apps can be done through iTunes.
Steps:
- Connect Your iPhone: Use a USB cable to connect your iPhone to your computer.
- Open iTunes: Launch iTunes on your computer.
- Select Your Device: Click on the device icon.
- Navigate to Apps: Go to the “Apps” tab.
- Find and Remove the App: Locate the app you want to delete and click the “Remove” button.
Note: This method is less common now due to the discontinuation of iTunes app management in favor of Finder on macOS Catalina and later.
Troubleshooting App Removal Issues
Sometimes, users may encounter issues while trying to remove apps. Here are some common problems and solutions:
App Not Deleting
Possible Causes:
- Restrictions: Ensure that no parental controls or restrictions are preventing app deletion.
- System Glitch: Restart your iPhone and try deleting the app again.
App Keeps Reinstalling
Possible Causes:
- Automatic Downloads: Check if you have “Automatic Downloads” enabled for apps. Go to Settings > App Store and disable automatic downloads.
Residual Data
Solution:
- Check Storage: After deleting an app, check your iPhone storage to ensure no residual data is left. You may need to manually delete any remaining files through the Files app or by resetting certain settings.
Best Practices for App Management
Regular Review
Regularly review and delete apps you no longer use. This practice not only helps with storage but also keeps your Home Screen organized.
Backup Your Data
Before deleting apps, especially those with valuable data, ensure you have backups. iCloud and iTunes can be used to back up app data.
Use Offloading Wisely
If you’re not sure whether you want to permanently delete an app, use the offloading feature to remove it while keeping the data intact.
Related Post:
How to Uninstall Apps on Mac: A Comprehensive Guide
How to Close All Apps on iPhone: A Comprehensive Guide
Understanding Apps and Data Screen: A Comprehensive Guide
Removing apps from your iPhone can streamline your device and free up valuable storage space. Whether you choose to delete apps directly from the Home Screen, through the Settings app, or by using the App Library, the process is designed to be user-friendly. For those looking to manage their apps more efficiently, offloading provides a useful alternative. By following this comprehensive guide, you’ll be able to keep your iPhone clean, organized, and running smoothly.
Feel free to revisit this guide whenever you need to manage your apps, and don’t hesitate to explore the various methods to find the one that best suits your needs.


